ESP-IDF Installation and Usage Guide
Official Documentation
Refer to the official documentation for detailed instructions:
Installation
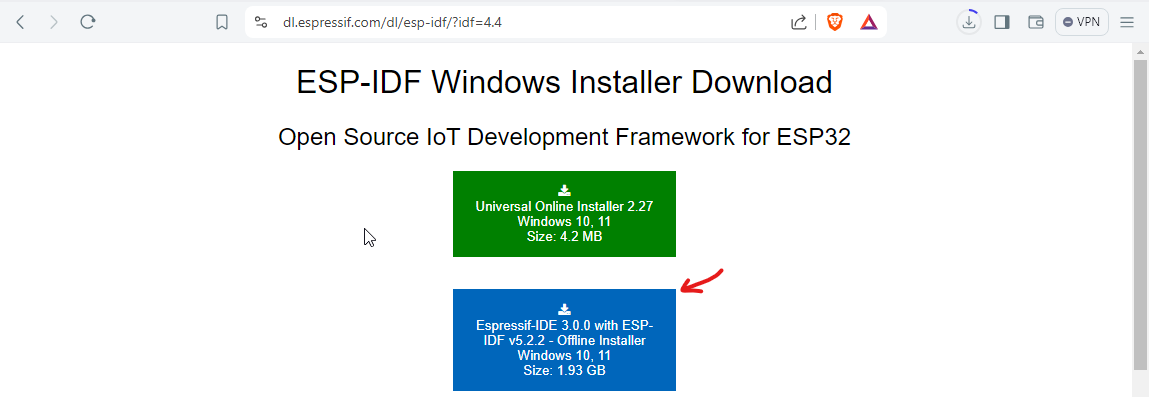
Windows
-
Use the full offline installer:
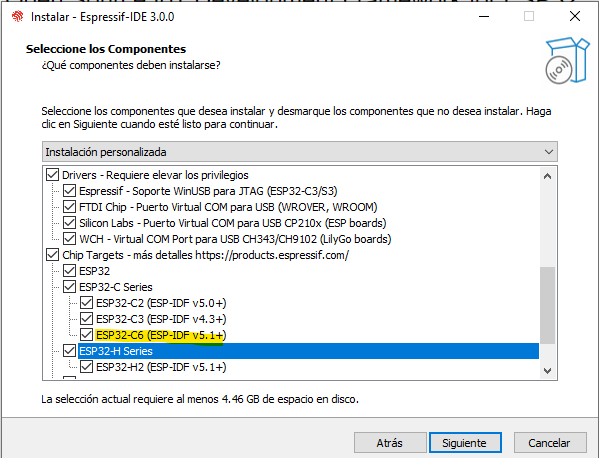
- Open the installer and select all available board options.
Creating and Configuring a Project - Espressif-IDE
-
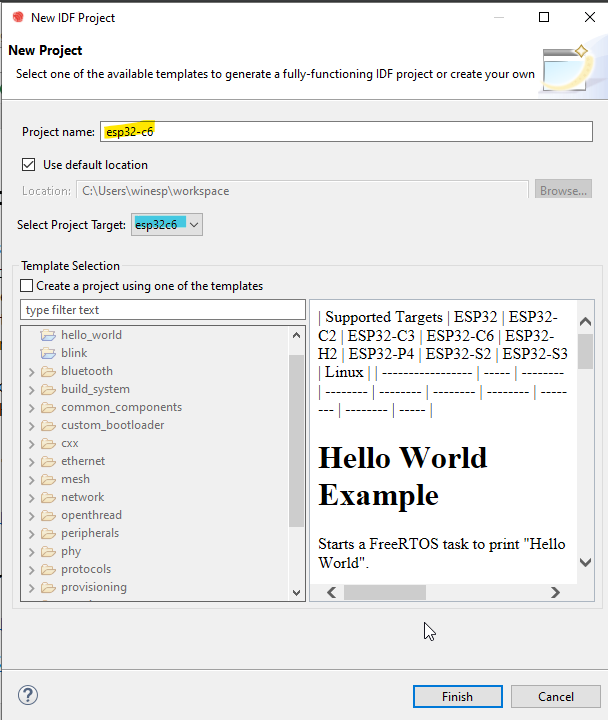
Open the Espressif-IDE.
-
Create a new project example.

- Select the ESP32-C6 board.
-
Configure the project settings:
- Set the clock speed to 40MHz.
- Set the flash memory to 4MB.
-
Build the project.
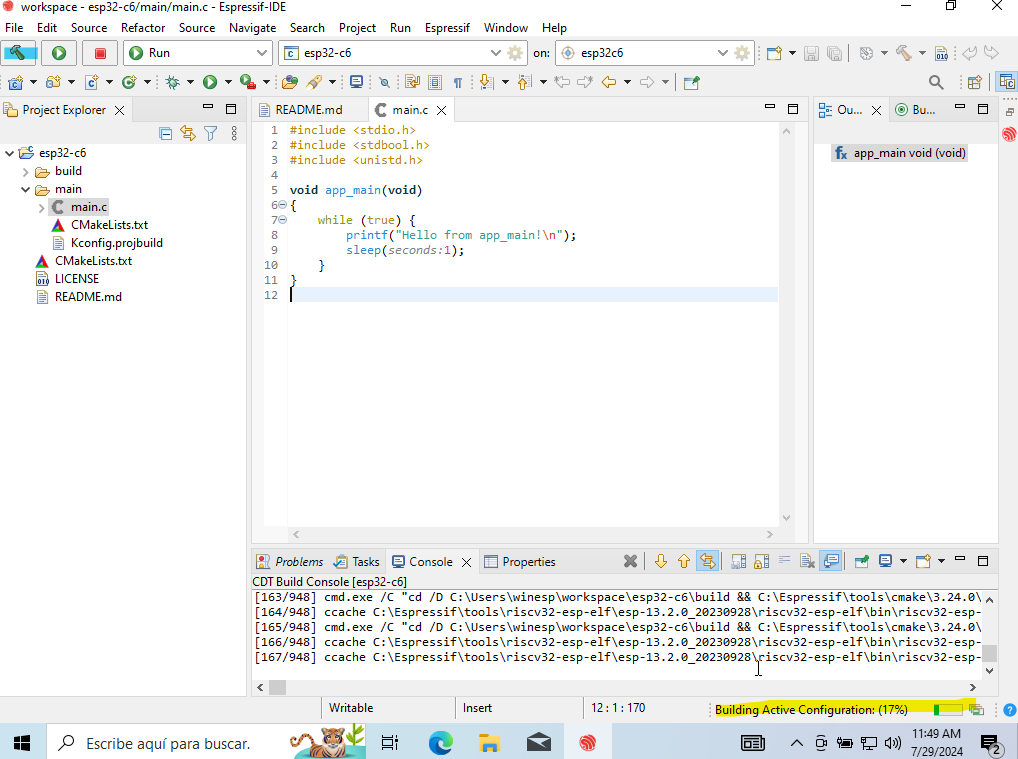
- Flash the firmware to the board.
GNU/Linux (Ubuntu)
Requirements
Ensure Python3 is installed:
python3 --version
Install the required dependencies:
sudo apt-get install git wget flex bison gperf python3 python3-pip python3-venv cmake ninja-build ccache libffi-dev libssl-dev dfu-util libusb-1.0-0
Setting Up the Environment
-
Create a directory for ESP-IDF:
mkdir -p ~/esp
cd ~/esp
git clone -b v5.3 --recursive https://github.com/espressif/esp-idf.git -
Install ESP32-C6 example:
cd ~/esp/esp-idf
./install.sh esp32c6
note
To develop for multiple boards:
./install.sh esp32,esp32s2
You can also install all boards at once:
./install.sh all
Configuring Environment Variables
Set up environment variables:
. $HOME/esp/esp-idf/export.sh
For frequent usage, create an alias:
alias get_idf='. $HOME/esp/esp-idf/export.sh'
Creating and Configuring a Project
-
Copy the "hello_world" example:
cd ~/esp
cp -r $IDF_PATH/examples/get-started/hello_world . -
Enter the project directory and configure the target board:
cd ~/esp/hello_world
idf.py set-target esp32c6
idf.py menuconfig
-
Navigate to Serial flasher config.
-
Set clock speed to 40MHz and flash memory to 4MB.
-
-
Build the project:
idf.py build -
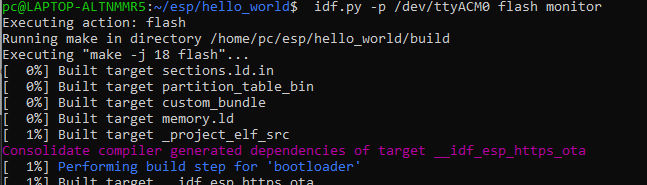
Flash the firmware:
idf.py -p /dev/ttyACM0 flash
Uploading Firmware
-
Verify the device connection:
lsusb
dmesg | grep ttyACM*
[ 6497.689351] cdc_acm 1-1:1.0: ttyACM0: USB ACM device -
Flash the firmware:
idf.py -p /dev/ttyACM0 flash
- Confirm successful upload.
Using WSL
- Open a terminal (PowerShell in administrator mode is recommended).
- Use
usbipdto view connected USB devices and create a communication link. - Attach the device:
usbipd attach --busid <bus-id> - Verify the device in your Linux console.
To unlink the device:
- Detach the device in PowerShell:
usbipd detach --busid <bus-id> - Unbind the device for Windows use:
usbipd unbind --busid <bus-id>
Additional Notes
- Always ensure the correct paths are used for your environment.
- Refer to the official documentation for troubleshooting and advanced configurations.
- For frequent commands, consider creating aliases to streamline your workflow.
- Use
idf.pycommands for building, flashing, and managing projects.